DIY 005 || WOODEN POLAROID FRAME
Looking for a unique way to display your favorite Polaroid photos? We were and decided to create our own out of scrap boards that we had in the shop. Here is quick and easy tutorial for creating a custom frame that is unique. We hope this helps you LOVE THE ROOM.
ITEM LIST
Tools
Miter Saw
Sanding Block
Paint Brush or Rag
Tape Measure
Pencil
Materials
Thick Board
Double Sided Tape
Polyurethane
INSTRUCTIONS
Always wear safety gear, read the manufacturer's labels and use caution when performing an install.

STEP 1
PICK YOUR BOARD || We chose a thicker board from our scrap pile that had good character. The thicker the better so that it stands on it's own easier. If you do not have any boards lying around, we recommend picking up one at Lowe's or your local lumberyard.

STEP 2
MEASURE || We were using vintage Polaroid 600 film and went with 5-1/2-in x 5-1/2-in to leave a about a 1/2-in all the way around the photo. If using Fuji Instax Mini or other format film, you can change the dimensions to fit your preference frame to photo proportions.

STEP 3
CUT || Cut the board on the marked line using a miter saw.
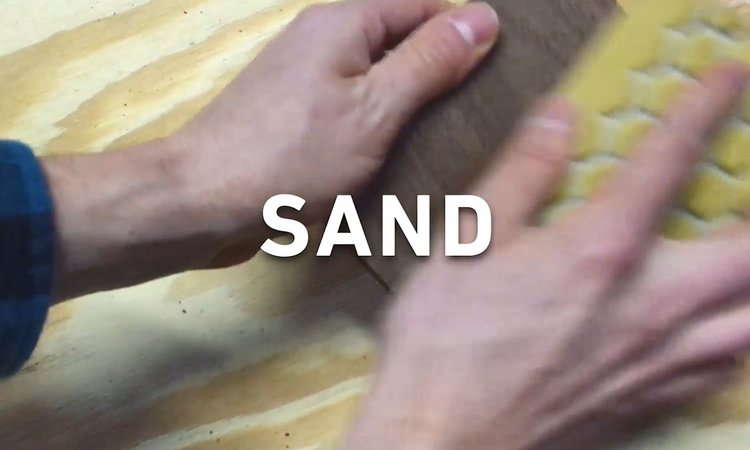
STEP 4
SAND || Sand down rough edges and all over the board using 220 grit sandpaper or a sanding block. This will help prepare the board for the finish.
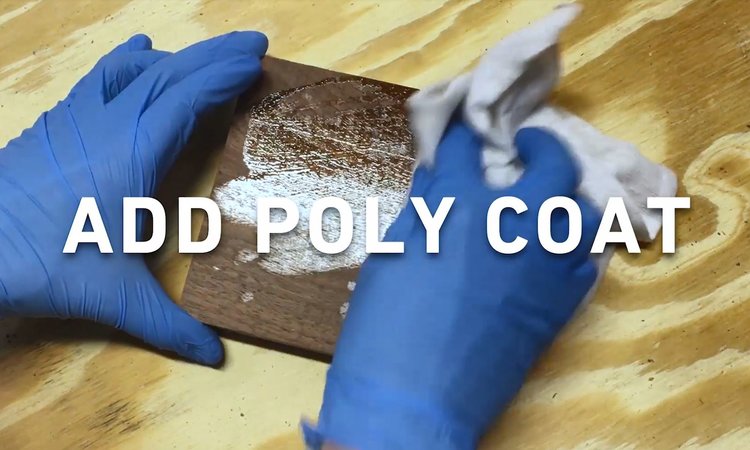
STEP 5
APPLY POLY COAT || Apply a top coat of polyurethane. You can either use a brush or wipe on method. We used Minwax Gloss Wipe-On Poly.

STEP 6
APPLY THE TAPE || Pull off two strips of double sided tape and apply to the back of the top and bottom of the photo. Flip the photo over, center on the board and press firmly to adhear to the wood.

FINISHED
LOVE THE ROOM || At this point everything should be finished and looking good! Take a moment to revel in your completed project....Then immediately take a picture and show off your new space using #LoveTheRoom :-)